Over 60% of desktop users never customize beyond the default wallpaper, which means you’ve got a huge opportunity to make your setup stand out with Rainmeter. With the right skins, layouts, and a bit of organization, you can turn your desktop into a clean, functional dashboard that actually helps you work or game. You’ll just need to avoid a few common mistakes that can quietly ruin an otherwise great setup…
Install Rainmeter and Your First Rainmeter Skin
Start by downloading Rainmeter from its official website and running the installer, making sure to choose the “Standard installation” option so it updates automatically. It’s faster than pretending you’ll learn system monitoring in Task Manager someday. Follow the prompts, click “Next” like a responsible adult, then launch Rainmeter.
For your first Rainmeter skin, open the Rainmeter window and hit “Manage.” You’ll see some default skins already installed. Select one, click “Load,” and boom—your desktop now has stats that make you look like you know what you’re doing.
A few quick installation tips and beginner troubleshooting notes: if nothing appears, check that the skin isn’t off-screen (right‑click tray icon → “Manage”). If skins won’t load, temporarily disable overzealous antivirus.
Choose the Right Rainmeter Theme or Skin Pack
When browsing packs, focus on color harmony and typography pairing so your desktop doesn’t look like a PowerPoint from 2003.
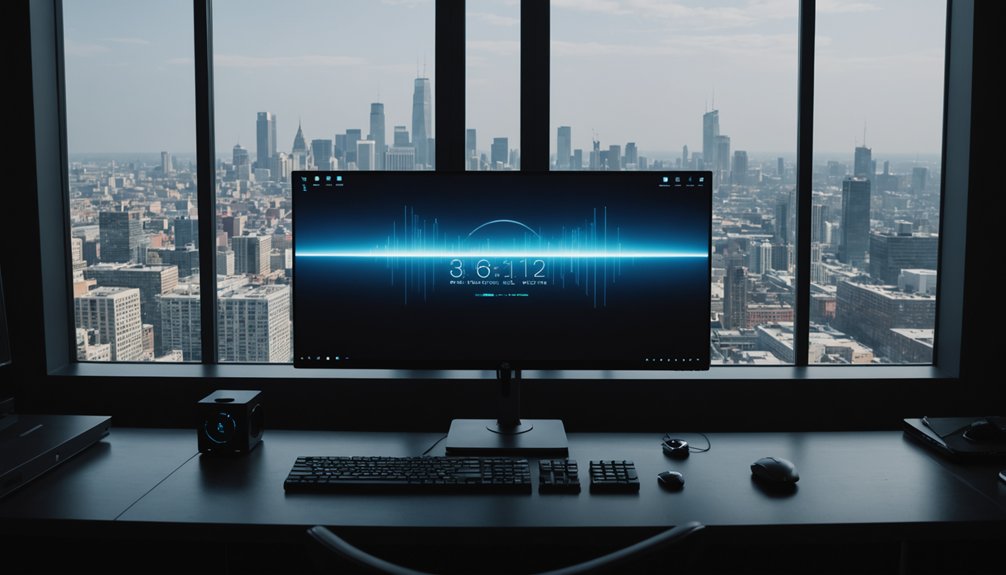
- Picture a clean, dark theme with neon accents framing a minimalist wallpaper.
- Imagine soft pastels, rounded fonts, and gentle widgets hovering like digital sticky notes.
- See a sci‑fi command center: sharp lines, bold type, HUD‑style meters everywhere.
- Visualize a calm, monochrome layout where every widget matches your wallpaper’s mood.
Learn Rainmeter Basics and Core Terms in 5 Minutes
Rainmeter also respects layers, so you can do simple layer blending tricks: keep important stats on top, shove pretty graphs behind. Finally, skins don’t replace system files, so it’s hard to completely nuke your desktop. For deeper OS-level tweaks that complement your visual setup, explore our top hidden Windows 11 features for power users.
Customize Rainmeter Skins Without Breaking Them
Now that you know the basics, you’re ready to edit Rainmeter skins without accidentally breaking them. You’ll see how to safely tweak skin files so you can change layout, colors, and behavior while keeping everything functional. You’ll also learn how to manage skin dependencies, so shared resources and external measures don’t cause errors or missing elements.
Safely Editing Skin Files
Although Rainmeter skins are just text files, careless edits can easily break them or make your desktop behave unpredictably. You’re basically performing open‑heart surgery on your UI, so let’s not sneeze into the patient.
- Picture a folder labeled “backup versions,” glowing like a save point in a video game. Copy your skin file before every major change. Future‑you will send thanks.
- Open skins in a real text editor with line numbers and syntax highlighting. Notepad is like doing surgery with a spoon.
- Do quick permission checking: make sure files aren’t read‑only and that you’re editing the active .ini, not a random clone.
- After each small change, refresh the skin. When something breaks, you’ll know exactly which edit did the crime.
Managing Skin Dependencies
Before you dive too deep into customization, it helps to untangle what your skins actually rely on to work: images, fonts, plugins, shared measures, and even other skins. If you rip one out blindly, don’t be surprised when half your desktop suddenly goes witness protection.
Start with simple dependency mapping: keep a small text file listing which skins use which fonts, plugins, and shared resources. When something breaks, you’ll know where the body’s buried.
Next, treat your Rainmeter folder like code: basic version control saves your sanity. Use zip backups or Git to snapshot changes before installing new skins or editing shared includes. Break something? Just roll back. Windows 11 introduced significant UI changes that affect how Rainmeter themes layer; our Windows 10 vs Windows 11 comparison covers the visual differences.
Finally, avoid mystery assets—store common resources in clearly named @Resources folders.
Add Rainmeter System Stats, Weather, and Media Widgets
Now that your skins look the way you want, it’s time to make them useful with real-time system monitoring widgets for CPU, RAM, storage, and network. You can also add compact weather panels that show current conditions and forecasts right on your desktop. To round it out, you’ll integrate media controls so you can see what’s playing and manage your music without opening a separate window.
Real-Time System Monitoring
Often the most satisfying part of Rainmeter isn’t the visuals—it’s turning your desktop into a live dashboard that shows exactly what your system’s doing. Real-time monitoring skins let you stalk your PC’s every move: CPU, RAM, disk I/O, even gpu temp and live processes, all without opening Task Manager like it’s 2009.
Picture it:
- A thin CPU bar pulsing with every app you open, like your PC’s heartbeat on caffeine.
- RAM usage rings slowly filling, silently judging your 47 Chrome tabs.
- Network graphs spiking whenever Windows decides it “needs” another update.
- Minimalist text readouts listing top live processes, outing the app that’s secretly cooking your laptop.
Arrange these meters around key workspace areas, and you’ve got a nerdy command center. Showing off your setup is easier with the right tool — our best screen recording software for tutorials and gaming guide helps you capture it in style.
Weather And Media Integration
Pull your desktop out of “static wallpaper” mode by wiring in live weather and media controls alongside your system stats. Rainmeter can show current conditions, forecasts, and even sunrise times, so you’ll know when to close the blinds and pretend you’re productive.
Grab weather suites from DeviantArt or the Rainmeter forums, then drop in your API key (OpenWeather, etc.) inside the skin’s .ini file. Use dynamic icons that shift from sun to storm clouds so you don’t have to, you know, look outside.
For media, tie widgets into Spotify, Winamp, or your player of choice—track info, album art, volume, and playback buttons. Want extra flair? Pair Rainmeter with third‑party voice commands to trigger playlists or mute everything before meetings.
Use Rainmeter Layouts to Save and Swap Desktops
Once you’ve got a few skins arranged just the way you like, Rainmeter’s Layouts feature lets you lock in those setups and swap between them in seconds. Think of layouts as “workspace snapshots” for your sanity: one click, and your entire desktop personality changes without complaining about commitment.
Here’s how profile switching can look in real life: If your PC is older and struggles with widget overhead, our best lightweight browsers for old PCs roundup can help free up RAM.
- Work Mode – Minimal clocks, CPU meters, and a stern “stop procrastinating” quote.
- Gaming Mode – Big FPS readouts, temps, and a “no notifications allowed” policy.
- Chill Mode – Music visualizer, weather corner, giant calendar you’ll still ignore.
- Streaming/Showoff Mode – Over-the-top holographic HUD that impresses viewers and confuses relatives.
Save each layout, then jump between them like desktop costume changes.
Build a Simple Rainmeter Skin From Scratch
Start small and you’ll understand Rainmeter’s logic much faster: creating a basic skin from scratch shows you how all the pieces fit together. Create a new folder in `Skins`, drop in an `.ini` file, then add a simple meter that displays the time. Reload Rainmeter, and boom—your first “hello world” clock, minus the emotional baggage.
Use Rainmeter’s variables for dynamic positioning so you can nudge things around without hunting every coordinate like lost socks.
| Step / Idea | Why It Matters |
|---|---|
| Create .ini | Gives Rainmeter something to load |
| Add measures/meters | Turns data into visuals |
| Tweak variables | Sets up dynamic positioning, later animated shifts |
Once it works, then you can chase animated shifts.
Match Rainmeter Skins to Your Icons and Wallpaper
With a working skin in place, the next step is making it actually belong on your desktop instead of looking like a sticky note slapped on glass. You’ll use basic color theory and palette matching so your widgets don’t clash with your wallpaper like socks and sandals. Heavy widget packs can push CPU usage up; our step-by-step CPU usage fix guide explains how to profile and trim resource-hungry processes.
Try this:
- Imagine your wallpaper as the “movie poster” and your icons as the cast. Your Rainmeter skin is the title font—same vibe, same colors.
- Sample two or three key colors from the wallpaper, then use lighter tints for text and darker shades for backgrounds.
- If your icons are flat and minimal, keep the skin flat; if they’re glossy, add soft gradients.
- Desaturate busy skins slightly so your wallpaper still feels like the star.
Fix Common Rainmeter Skin and Performance Problems
Even a perfectly matched skin can feel wrong if it stutters, lags, or randomly breaks. When that happens, open Rainmeter’s Manage window and check which skins are actually running. You’d be surprised how many CPU-hungry widgets you accidentally enabled at 3 a.m.
If animations hitch, lower update rates (500–1000 ms is usually fine) and turn off unused measures, especially nowplaying, disk, and heavy network queries. Use skin caching options when available; cached images render faster than constantly redrawn ones.
Crashes or disappearing elements? You might have layout conflicts: overlapping skins fighting for the same spot or position settings restored from another resolution. Save a fresh layout, tweak coordinates, and lock important skins so they stop drifting like confused desktop ghosts.
Find and Organize Pro-Level Rainmeter Skins Safely
When you’re ready to step up to pro-level Rainmeter setups, you need to know where to find high-quality skins that are safe and trustworthy. You’ll also want a clean system for organizing your layouts so you’re not hunting for configs every time you switch themes. In this section, you’ll learn which sources you can rely on and how to structure your Rainmeter folders and layouts for fast, hassle-free customization. A personalized desktop pairs best with a curated software stack — check our essential software checklist for a new laptop.
Trusted Sources For Skins
Although Rainmeter lets you install almost anything you find online, it’s essential to stick to trusted sources so you don’t invite malware, broken skins, or performance issues onto your system. Think of yourself as a museum curator, not a digital raccoon.
- Picture the official Rainmeter site as the “front gate” museum entrance—stable, vetted skins, no surprise jump scares for your CPU.
- Imagine DeviantArt and similar hubs as sleek galleries; follow top-rated creators and read comments like you’re scanning tiny museum plaques.
- Visualize community forums as buzzing cafés where veterans warn, “Don’t install that, I still hear my fans screaming.”
- Treat YouTube creator interviews and showcases like guided tours, revealing which designers are rock-solid and which are… experimental.
Organizing And Managing Layouts
Instead of scattering widgets across your screen and hoping for the best, you’ll get far more out of Rainmeter by treating your layouts like named “workspaces” you can swap in seconds. Create a “Work,” “Gaming,” and “Chill” layout, then save each in Rainmeter’s Layouts tab so you’re not hunting down that CPU monitor like lost socks.
Use workspace snapping by aligning skins to a subtle grid; your desktop will look intentional instead of “organized chaos.” Pair that with gesture shortcuts (via tools like AutoHotkey) so a three‑finger swipe can switch layouts faster than you can say “productivity.”
| Layout Type | Purpose | Trigger Idea |
|---|---|---|
| Work | Focus, monitoring | Ctrl+Alt+1 |
| Gaming | Stats, FPS | Ctrl+Alt+2 |
| Chill | Music, visuals | Ctrl+Alt+3 |
| Stream | Chat, alerts | Mouse side button |
| Minimal | Distraction-free | Desktop hot corner |
Frequently Asked Questions
Can I Sync My Rainmeter Layouts and Settings Between Multiple PCS?
Yes, you can, but Rainmeter’s not magically doing it for you. You’ll use cloud sync (like Dropbox) plus portable profiles, then point each PC’s Rainmeter to that shared folder so your desktop wizardry follows you.
How Do I Use Rainmeter on a Multi-Monitor Setup Effectively?
You use Rainmeter on multi-monitor setups by treating each display like its own messy teenager’s room: lock skins per screen, test dual screen resolutions, adjust bezel correction, and save separate layouts—then yell at nothing when Windows rearranges everything. You can automate skin switching and widget data refresh with Windows Power Automate for a fully hands-free experience.
Is It Possible to Control Smart Home or Iot Devices With Rainmeter?
Yes, you can—kinda. Rainmeter doesn’t natively boss your smart bulbs around, but with plugins, web APIs, and scripts, you can fake Home automation and IoT integration so your desktop becomes mission-control ridiculous.
Can Rainmeter Be Used as a Productivity Dashboard for Tasks and Calendars?
Yes, you can—Rainmeter becomes your command bridge on a chaotic sea. With calendar widgets as lighthouses and task integration as crew, you’ll steer deadlines, dodge procrastination icebergs, and hopefully not mutiny against yourself.
How Do I Share My Custom Rainmeter Suite as a Single Installable Package?
You’ll export your layout as a .rmskin using Rainmeter’s built‑in installer creation. Bundle skins, fonts, plugins, and metadata, then share that file for effortless suite distribution—like Netflix for widgets, minus the monthly guilt.
Conclusion
Now your desktop doesn’t have to be just a background—it can feel like a command center built just for you. With your skins aligned to your wallpaper, colors, and icons, every widget becomes a deliberate brushstroke on a clean canvas. As you click between layouts—Work, Gaming, Minimal—it’s like flipping scenes on a stage you designed. Tweak, test, and refine, and you’ll watch your everyday desktop quietly turn into a polished, personal dashboard.